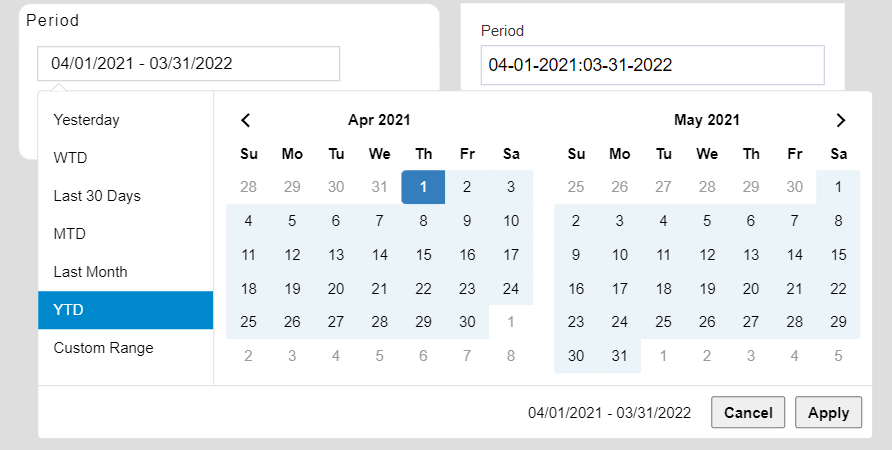
Custom Date Range Filter
Custom Date Range Filter: This video contains how to use Custom Date Range Filter.
Prerequisites: Period.widgets
- Login to AIV with credentials.
- Open/Create dashboard where you want to add this custom range filter.
- From widget library select Marketplace option.
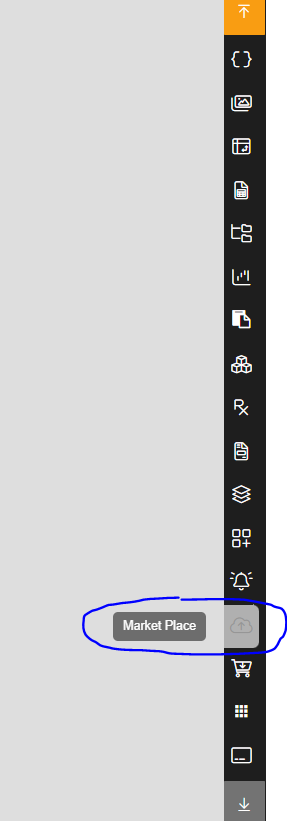
- From pop up window, click on the upload button and select Period. widget and upload.
- You need to create dummy filter to get the custom range date from custom range filter.
- Name of this dummy filter is key to link both the filters in a dashboard.
- Create a Dummy filter as static DS and add in to dashboard.
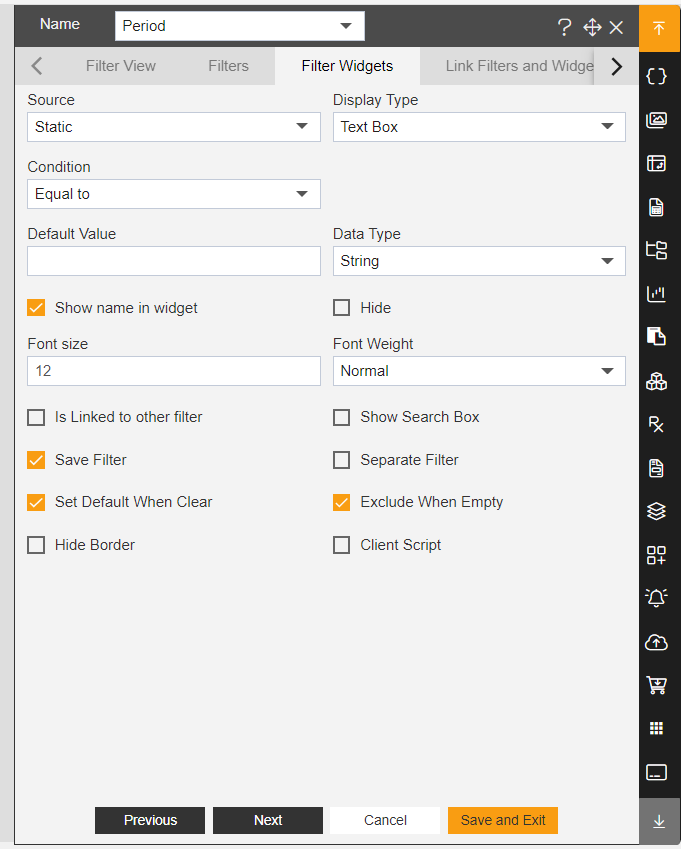
- Now Click on edit icon of Period.widget to open edit properties and go to JavaScript tab.
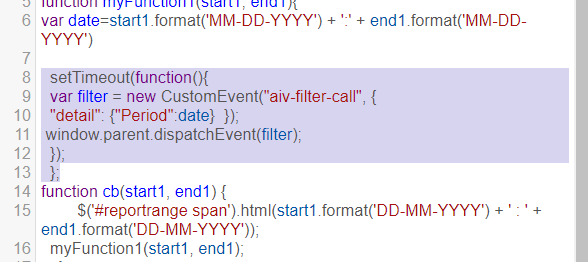
- Here you can see setTimeout function. In this script you need to mention Dummy filter name. Check below image, by default filter name applied is Period, just apply dummy filter name here, save it and both the filter are linked now.

- Go to preview mode and you can see today's date is selected in both the filters.
- when you click on custom filter dropdown, you can see 7 Options as shown in below image.
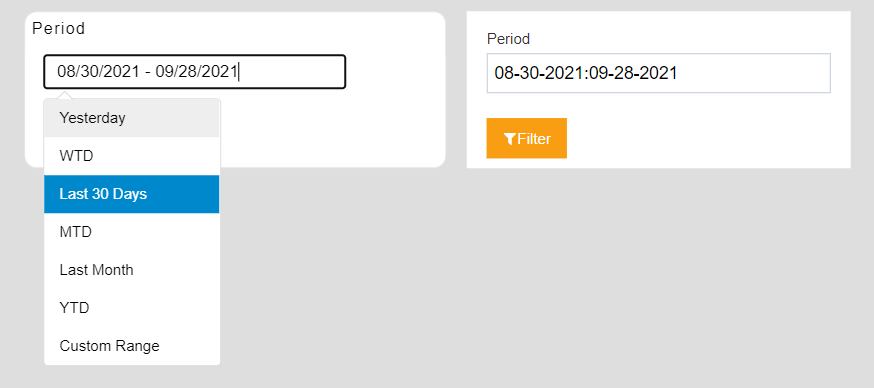
- If you select option Yesterday, it will show you the date range of yesterday as given in below image.
- Similarly, WTD will give you date range of Current week, Last 30 Days will give you date range of Current month [till today], MTD will give you date range of Current Month, Last Month will give you date range of Last month, YTD will give you date range of Current Financial year and Custom range option provides you flexibility to select custom range of dates as shown in below image.
